Improving accuracy is fundamental if you are planning on taking your business Carbon footprint seriously. Now, how does one do it on Zero Carbon platform for free? This guide will help you.
Step 1: Go to Accounting Sync
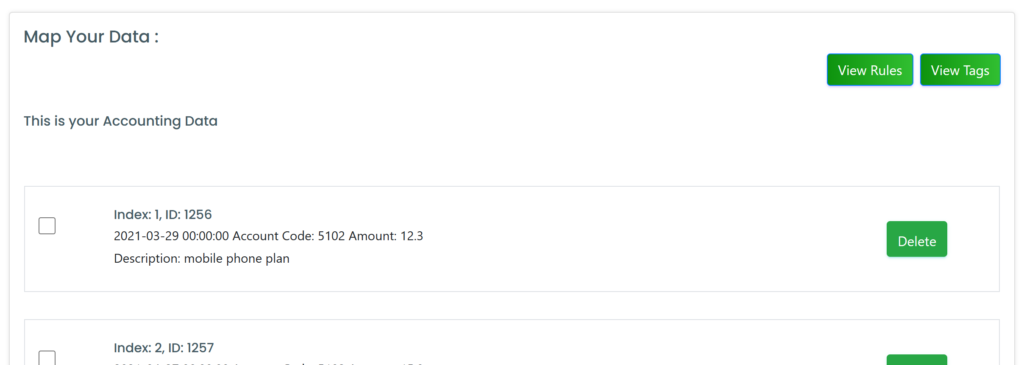
Find your way to Accounting Sync which is on Data Input page in the application. Scroll down and you will find the section as listed below- map your data.

What you should note at this point is the account code of the row that you would like to accurately map for emissions. Here, you can see that the Account code is 5102 for Index 1. You may have a look at this page for all the account codes based on your initial estimated mapping.
Step 2: Create a new Rule
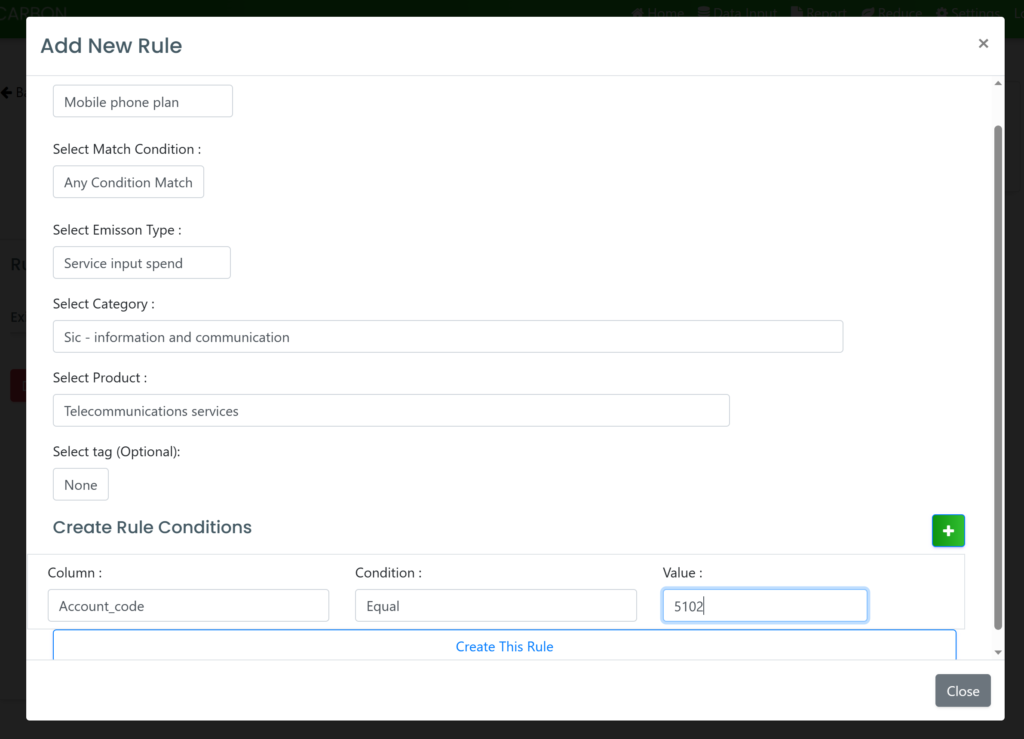
Go to View Rules > Create New Rule. In the pop up that shows up, add in details such as a rule name that is easy for you to recognise, match rule conditions (Any or all) and select your emission type. Here when you go to product, you can see that the categories are much more elaborate when compared to the first mapping. That is because this is following the European database with higher accuracy.

You may also create a tag based on your branch of operations for example. That is done in the accounting sync page where you can click on view tags > create tags. Once you add in the right rule conditions, you may click on create this rule.
Step 3: Apply the rule
Now you can apply this rule to all rows of data that match this condition. This will require some effort from your side the first time however, it is smoother once everything is sorted and can automate most of the bits for you.

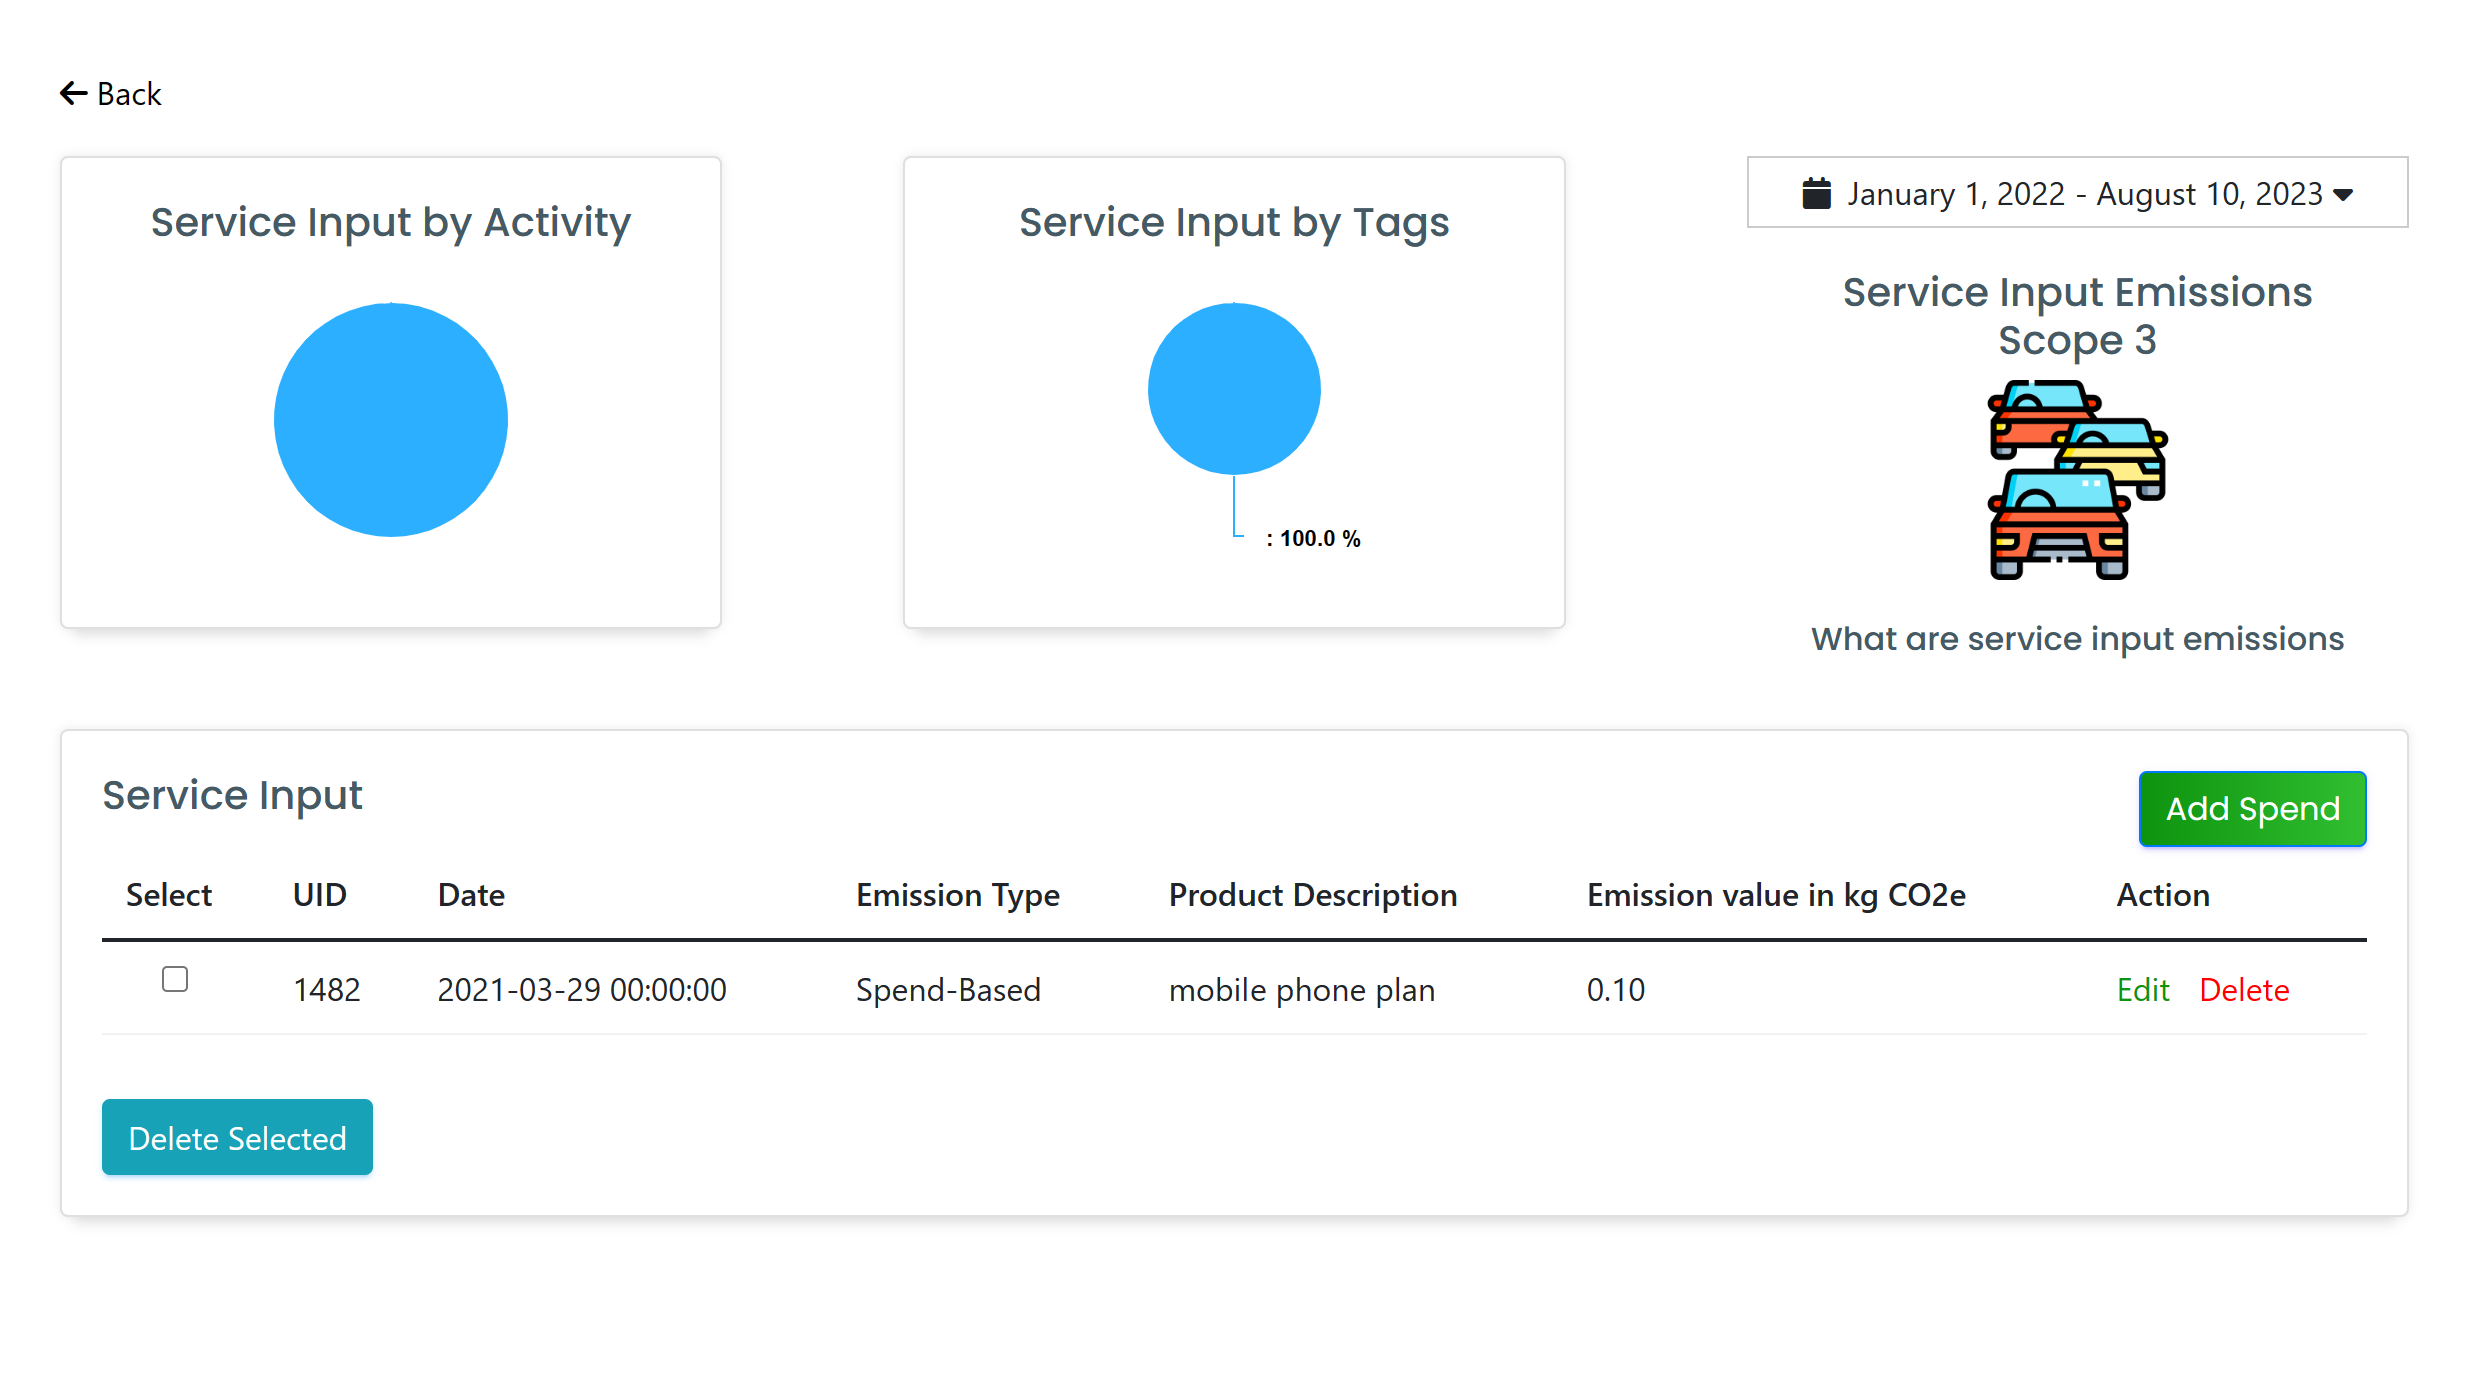
Click on Ok and you will see your emission disappear and show up in the corresponding emission type (In our example, it will appear in service input).
Additionally, you may also add input that do not come with expenses, directly in the data input page in the corresponding category by adding as an activity. We will discuss this further in another post.


0 Comments