

If you are new here, please go through our article on 3 Steps to do Carbon footprinting for free before reading below:
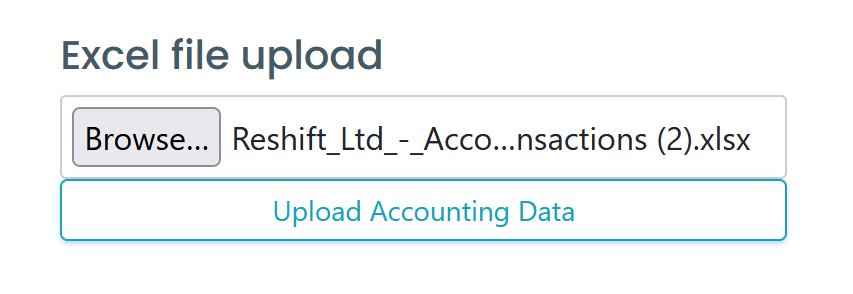
Step 1: Choose Excel file
Browse through your system and find the exported excel file from your accounting platform. Click on upload accounting data button.
Step 2: Title row
In this step, please check to see if the first row of your excel document contains the titles. If you are unsure, select “The first row in the sheet does not contain titles” from the dropdown menu.

Step 3: Assign column titles
You may skip this step if you have selected the first row in the sheet contains titles. In this step, you are to assign titles for each column to make mapping easier for you.
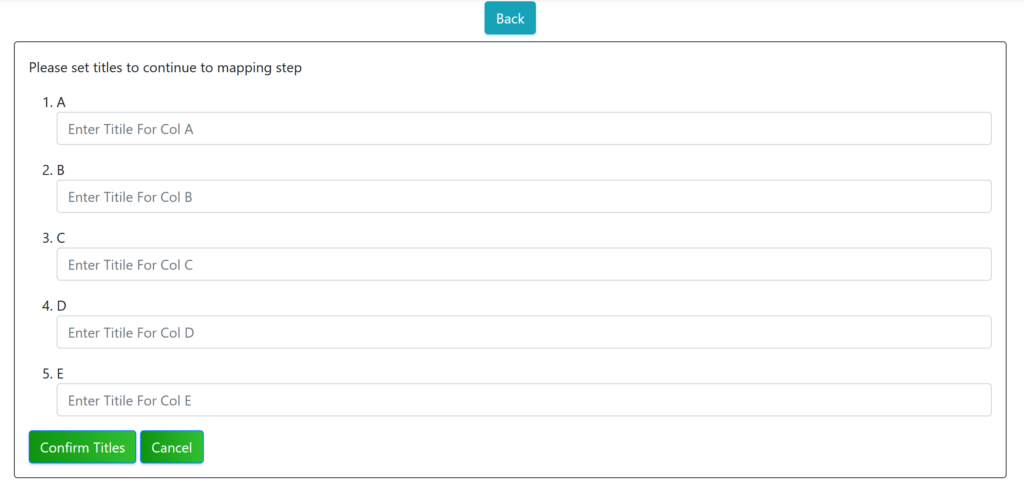
Click on Confirm titles to move to the next step.
Step 4: Assign columns and remove rows
In this step, you may assign columns to follow the requirements of our application and remove all unwanted rows.

Click on map once you are done with assigning columns and removing unwanted rows.
Step 5: Identify Categories
Identify the initial set of categories your expenses will fall under. If any of the account categories look unnecessary, you may remove them. You may use the table in this page to help you identify categories for your spend items.
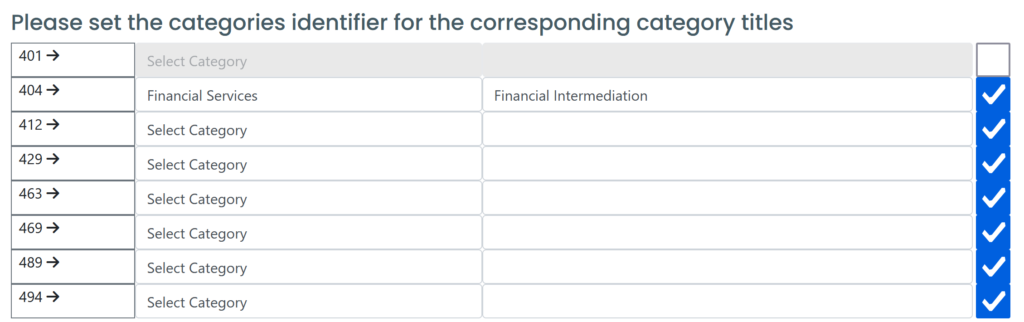
Once filled in, click on rename columns and submit. We are also storing these choices so that the next sync is easily automated. Now you will see that your Accounting Sync page has filled up and your home page shows an approximation of your Scope 1, 2 and 3 emissions already.
The next step is to improve your data accuracy.


0 Comments